There are many advantages to switching your cooling system from air-cooled to water-cooled. The heat capacity of water is extremely high, which results in nice and cool systems all around.
Water-cooled systems can dissipate more heat which not only increases the efficiency of your system but also increases the life span of your components.
Water cooling due to its use can cause water damage which can be detrimental to your PC. Enthusiasts prefer water cooling instead of the standard air cooling because they want their components not only to last long but also to look aesthetically pleasing. But there are also certain caveats you need to understand before embarking on your water loop journey.
Now, if you have decided to use water to cool your GPU, then you are in luck, as here in this article, I will be discussing how to water cool your GPU so that you can get the most out of it.
How Does Water Cooling Work?
Before I tell you how water cooling works, I would first like to discuss heat capacity. It turns out that water has a high heat capacity which makes it perfect to be used to cool your PC. The heat capacity of anything is basically the amount of heat it can absorb before changing its temperature.
All PCs, whether custom or Pre-built, come with a few fans that can be used to air cool the component. The fans installed on these systems get the job done and saves the components from thermal throttling. So water cooling can be called going the extra mile to cool your components.
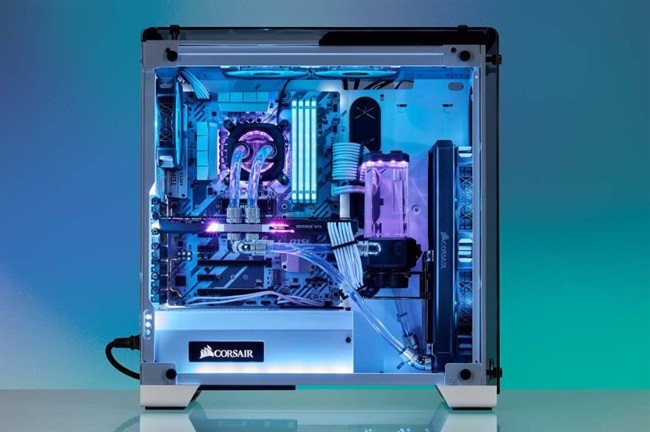
Water cooling works by taking the heat out from all the components that have been water-cooled through a phenomenon called radiation. That heat is later dissipated through the radiators installed at the end of the water loops.
Water-cooled systems have, apart from keeping the PC cool, another advantage, and that is the minimal fan noise. You seldom hear the fans spinning loudly in water-cooled systems, which is why enthusiasts like them.
Related guides:
- How to overclock GPU safely in 2023
- How to vertically mount GPU? (very safely)
- How to limit fps in games? (tips and tricks)
- How to use MSI afterburner (definitive guide)
- How to increase VRAM? (tips and tricks)
Is It Easy To Watercool A GPU?
Water cooling a GPU can be very easy, especially if you get a compatible off-the-shelf AIO and install it onto your GPUs. There are many AIOs in the market that are even universal and fit on many GPUs
AIO water cooling systems are generally cheaper and do not need much time to get them up and running. AIO will mostly remain maintenance-free; all you need to worry about here is keeping the fans clean.
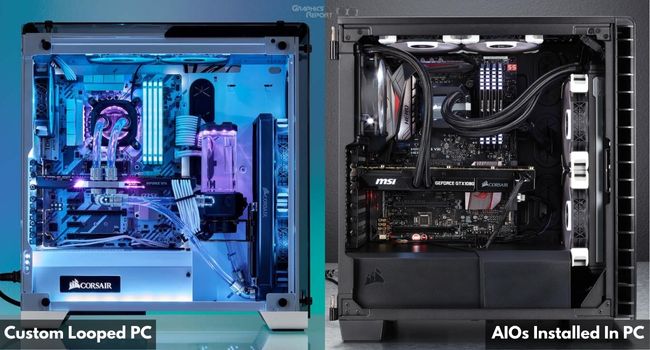
However, there is also a complex way to water cool a GPU: installing a custom loop. There will be a lot of components required, and you will certainly need someone to supervise you, at least while installing it.
Custom loops also require regular maintenance, and there is also a lot of danger associated with them, especially if you don’t connect the joints properly; there can be a risk of water damage to your system, so thread lightly here.
However, custom loops are better in some respect as they offer better thermal efficiency, lower temperatures, and look more aesthetically pleasing.
Can You Water Cool Any GPU?
Yes, you can water cool almost any GPU as there are many universal AIOs available in the market that is mostly a size fit all type of deal. However, even if such products are available in the market, it does not mean you should go and water-cool a GPU.
For many GPUs, especially the higher-end ones, it makes sense that you water cool them. These GPUs are very expensive, and you might want them to last a long time. Making such GPUs thermally efficient would be both wise and financially viable.
However, if you have a GTX 1050 Ti that does not even need a power connector and sips power through the PCI express, water cooling such a GPU would be akin to throwing money away. Yes, you can water cool a 1050 Ti, but doing so would make you look less cool and more financially irresponsible.
Is Cooling The GPU Necessary?
Cooling a GPU is absolutely necessary if you want to preserve its life. PC components get hot as electricity courses through them, performing tasks like running your games, rendering your videos, or making your PowerPoint presentations.
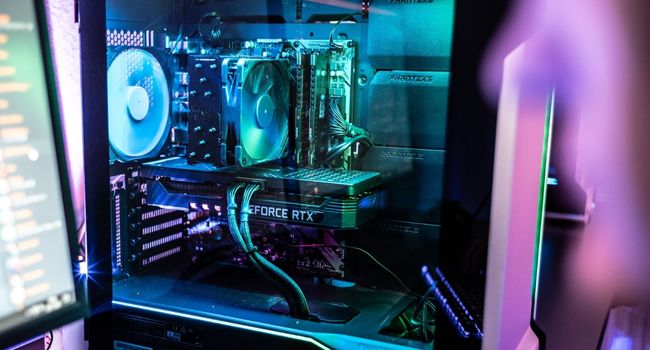
If you let your components get hot enough, there will come a time when the contacts on these components will melt. Various circuitry is going to get disconnected, which is essentially going to kill that component.
Now what components like the CPU and GPU do to save themselves from dying is that they thermal throttle themselves.
A self-defense mechanism installed into the firmware tells it to slow itself down when its temperatures become too hot. So a hot computer is also going to be a slow computer.
Hence, the heat must generate to be dissipated through the air or water cooling. This would not only ensure that your computer runs optimally as it should but also prolong its life span of it.
Are GPU Water Blocks Universal?
There is a certain water block that is universal. They are compatible with many GPUs and are extremely easy to install on one.
Universal Water blocks usually cover the GPU itself and not the other components, such as the memory, so you will have to install a fan to cool those components.
There are high chances that if you upgrade to a newer GPU, then your older water block may fit it. There are also Full coverage water blocks that are not universal and are only compatible with certain GPUs.
These water blocks cool the entire graphics cards, and you will not need another fan to cool other components. But be assured that once you have upgraded your GPU, you will also be shelling out some money for a new water block.
How To Install A Waterblock On A GPU?
Now, let us learn how to install a water block on your GPU. Do understand that this guide will not be universal and step-by-step verbatim due to the differences in GPUs, but the principles are the same. So do keep it in mind.
- First off, here are a few things you are going to need. The most important component you will need is a Phillip head screwdriver.
- Next, you are going to need a water block and a backplate.
- The first thing you will do is remove the backplate installed from the factory. This can be done very easily using a Phillip head screwdriver. Remove all the screws so that you can remove the backplate.
- Once the backplate has been removed, remove the stock cooler using the Phillip head screwdriver. While doing so, also remove the IO shield.
- Once you have done so, carefully detach the water cooler and remove the fan header cable from the GPU which powers the fan. You should also remove any thermal pads on your GPU’s memory chips.
- Once your GPU is open, clean off any thermal compound from it using q-tips and a clean cloth and let it dry for a few minutes.
- Once you are done, reapply the newer thermal compound on the GPU.
- Now take out your water block and position it on your PCB so that the screw holes correspond. Once you have done that, use the Phillip head screwdriver and install the screws back in.
- Also, place the IO back by using the screwdriver. If your Waterblock comes with a backplate, install that as well, and you should be done.
Are There Any Dangers Associated With Water Cooling?
Certain dangers are associated with water cooling your GPU, especially if you use a custom loop. There are many videos on youtube with people improperly installing the water blocks and custom loops, resulting in their graphics card and other components dying from water damage.
Improper installation and no maintenance of your custom loops are some ways you can do more harm than good with a water-cooling system.
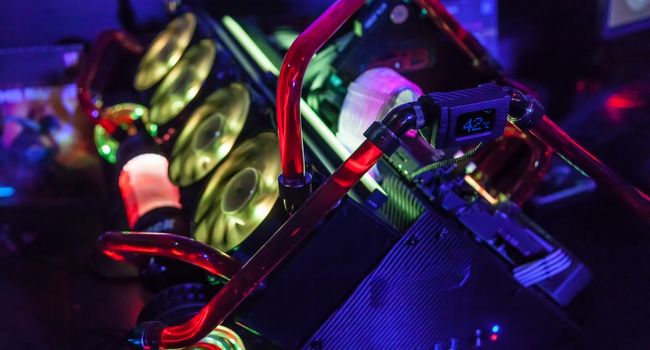
I have seen many enthusiasts with water-cooled systems having their liquid leaked on their components, and as a result, their system dies. So you must be extra careful, especially when installing your custom loops.
Even though this may be the stuff of a nightmare to many, there are many ways you can mitigate these issues, and if you do everything correctly, then a water-cooled system will serve you for a very long time.
Is Watercooling A GPU Worth It?
If you are usually on a budget and have a PC with adequate airflow, then I do not see the need for you to water cool your system.
If you can change the thermal compound and the thermal pads on your components from time to time, then sticking to air-cooled PCs is the way to go.
There are also many coolers available in the market that do not even produce a lot of noise, so fan noise should also not be a huge issue nowadays.
However, I will not stop you if you are an enthusiast and do not mind doing the leg work to install water cooling in their PC.
There is nothing wrong with water-cooling your PC; in some cases, it can even be encouraged, especially if you have an expensive PC.
My Final Thoughts On It!
This sums up my discussion on How to water cool a GPU. A GPU is known to produce the highest amount of heat out of all other PC components, so you should make arrangements that it gets enough cooling.
Air cooling is fine, especially if your computer gets enough airflow. However, you can consider water cooling your GPUs for more silent and cooler graphical processing.
Yes, it can get expensive, but if you have a high-end system, it can pay itself off with your system’s added year of life.

